Initial Setup (Credentials and Check Point Security Policy Setup)
Preparing the environment
NOTE: The below steps assume you are performing this workshop as part of an AWS Immersion Day…if you wish to run this in your own environment you can simply run the following CloudFormation Template manually: CGNS GWLB CFT
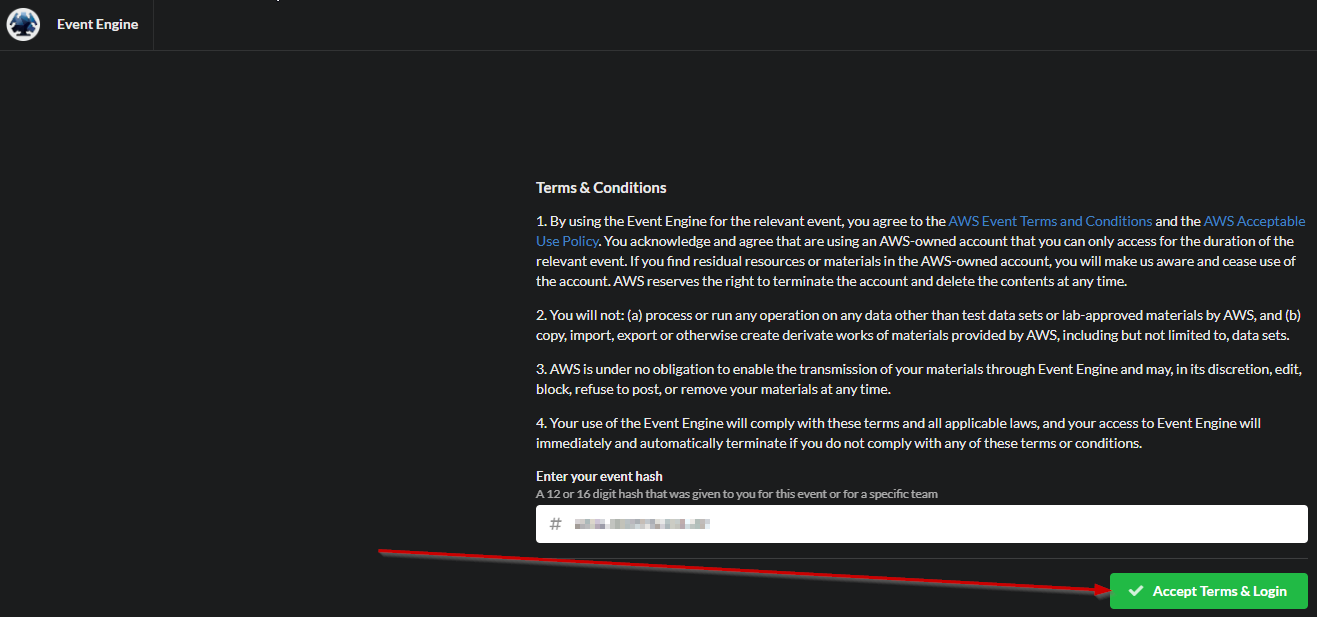
- Browse to the AWS Event Engine link that was provided, Accept Terms and Login
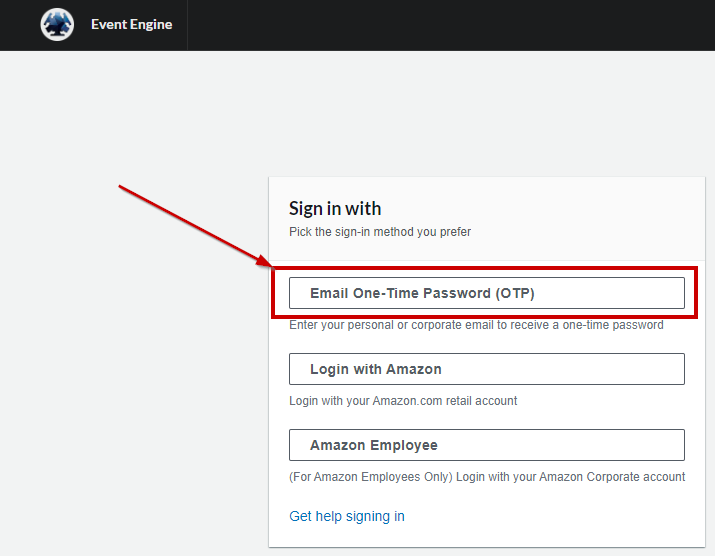
- Select the Email One-Time Password (OTP) option…it is recommended to send the OTP to a personal email address to avoid potential expiration of the OTP due to corporate security controls.
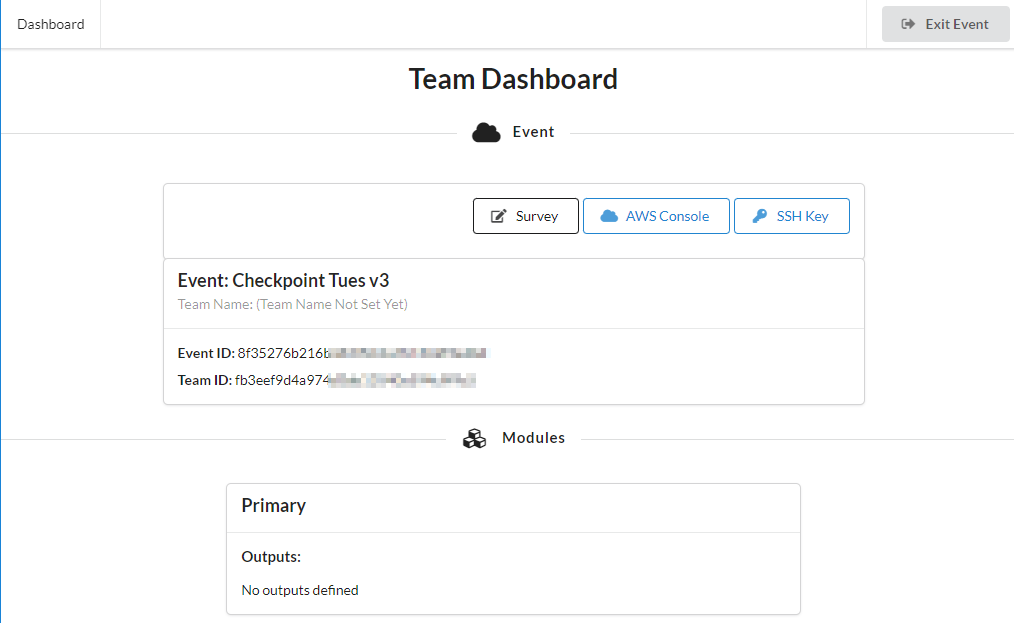
- After entering your OTP you should see a screen like this:
- Select the SSH Key option above
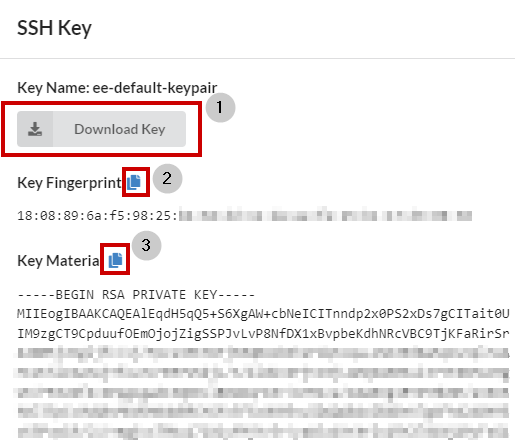
- Download Key to a location on your computer
- Copy the Key Fingerprint to a text file
- Copy the Key Material to a second text file
- Click OK when done
- If you are using PuTTY you can use PuTTYgen to create the PPK file needed from the PEM file downloaded in step A above
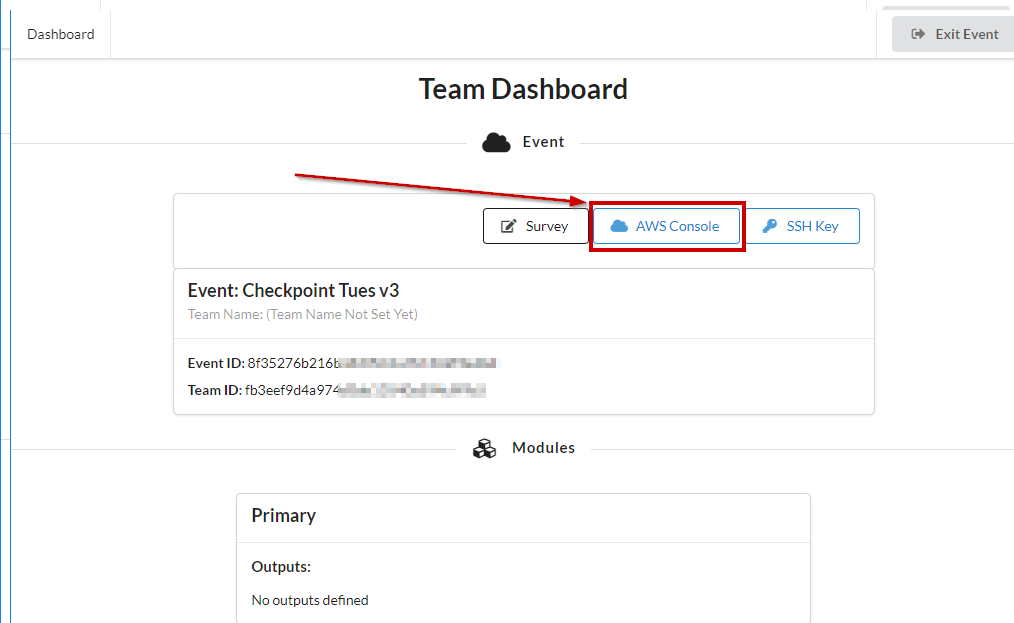
- Click on AWS Console
- Select Copy Login Link and save it to a text file and followed by selecting Open AWS Console(will open in a new tab)
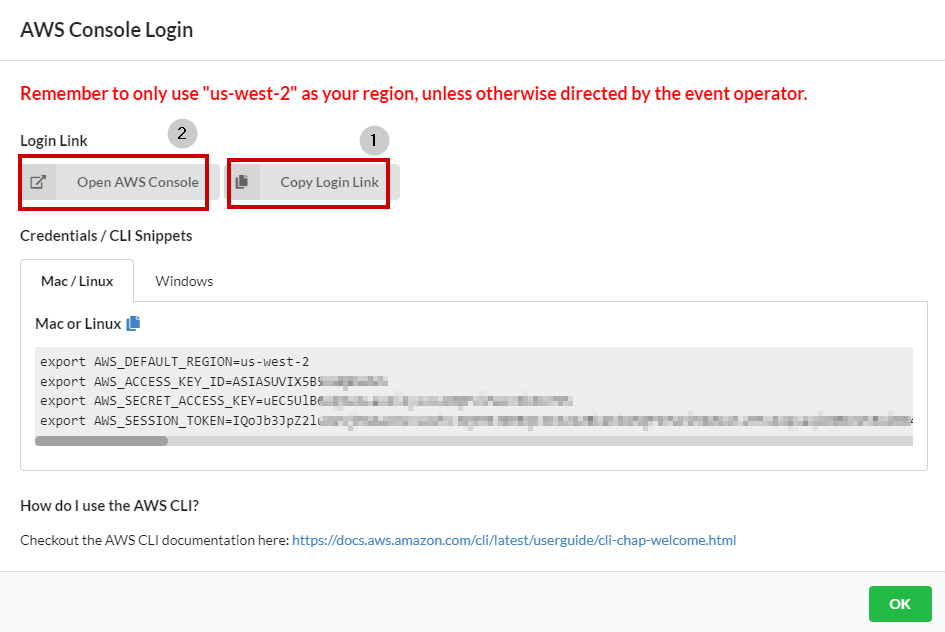
- After launching the AWS console double-check that you are in Oregon(us-west-2) »> NOTE: Only required with Immersion Day
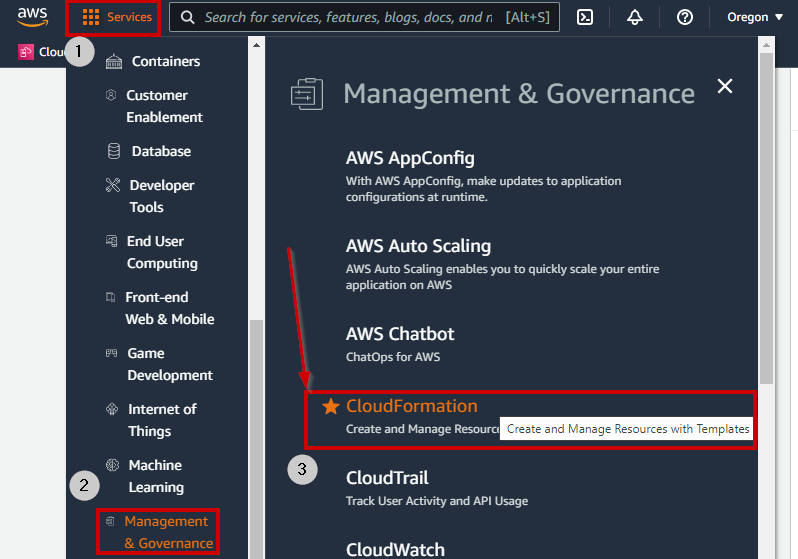
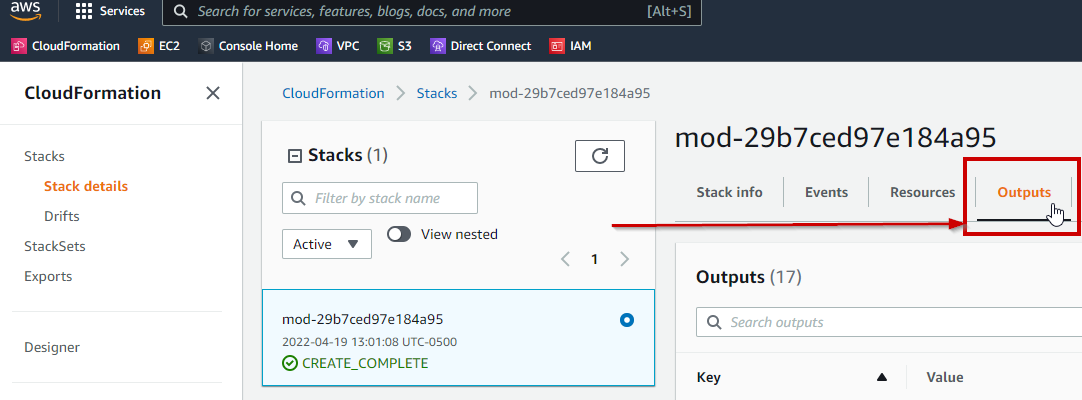
- Navigate to the CloudFormation area in the AWS Console
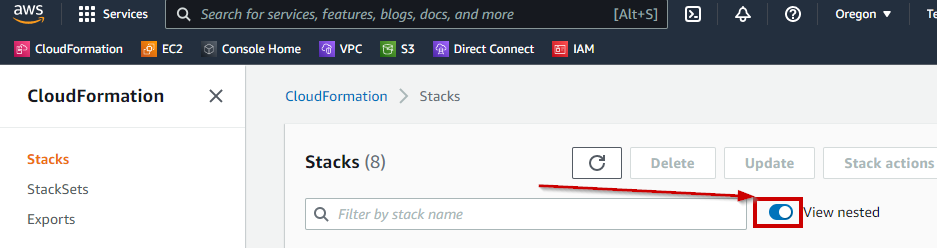
- In the Stacks view click View nested to hide all nested Stacks and then select the remaining Stack to view its details and output.
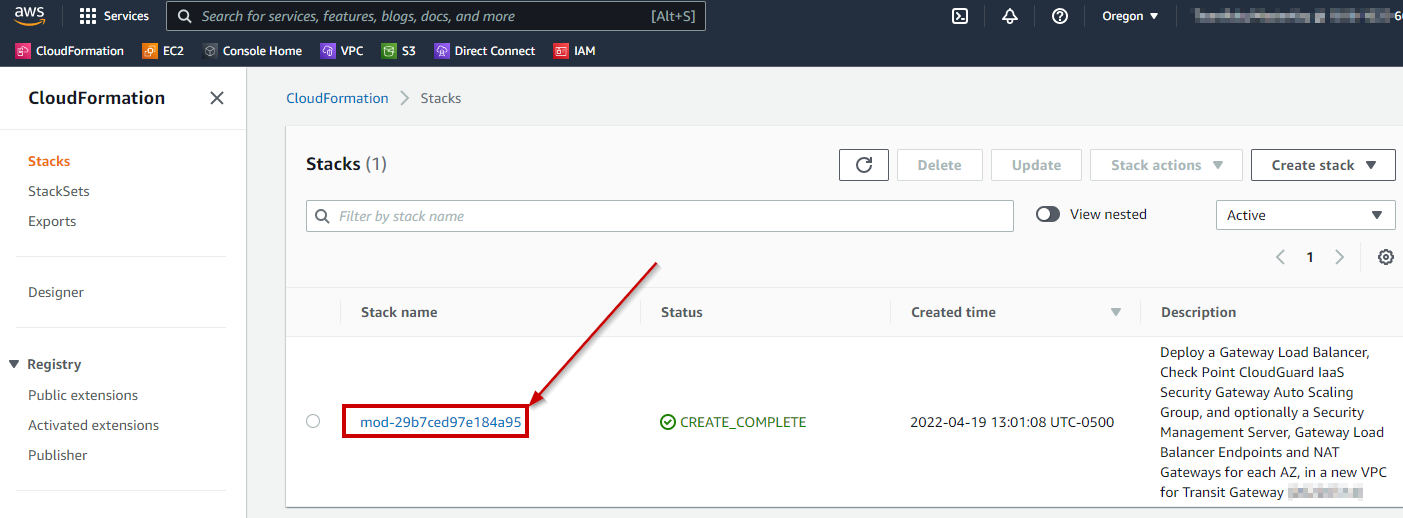
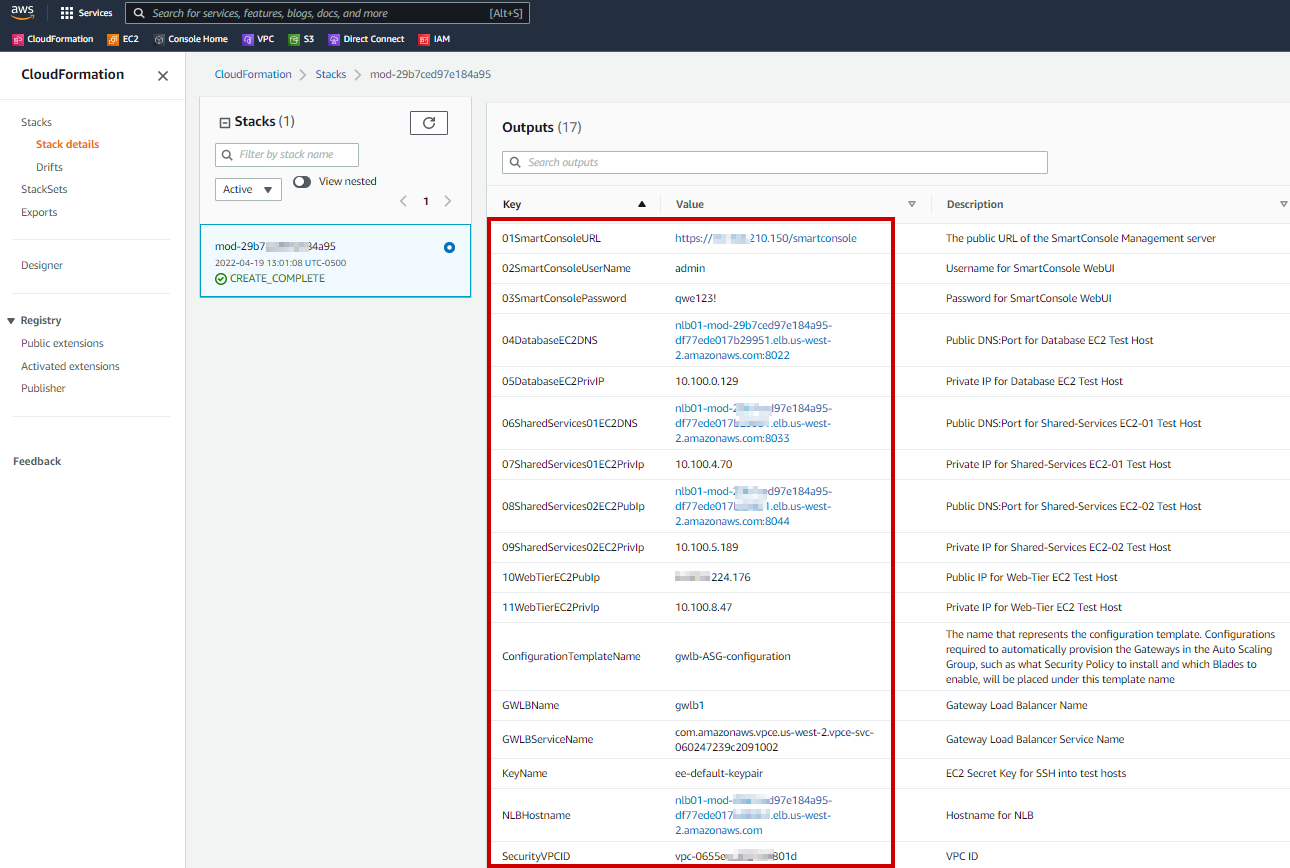
- Navigate to Outputs and record the keys and values (highlighting, copying and pasting into excel may be the best/cleanest method)
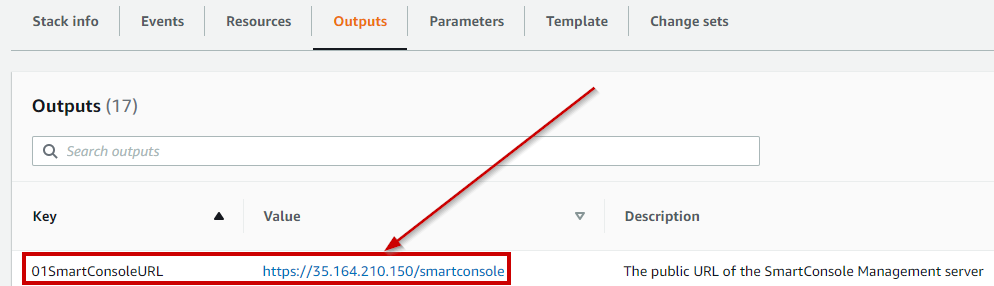
- Using the URL associated with the 01SmartConsoleURL key in the CFT output gives you the Public IP for the Check Point Security Management Server
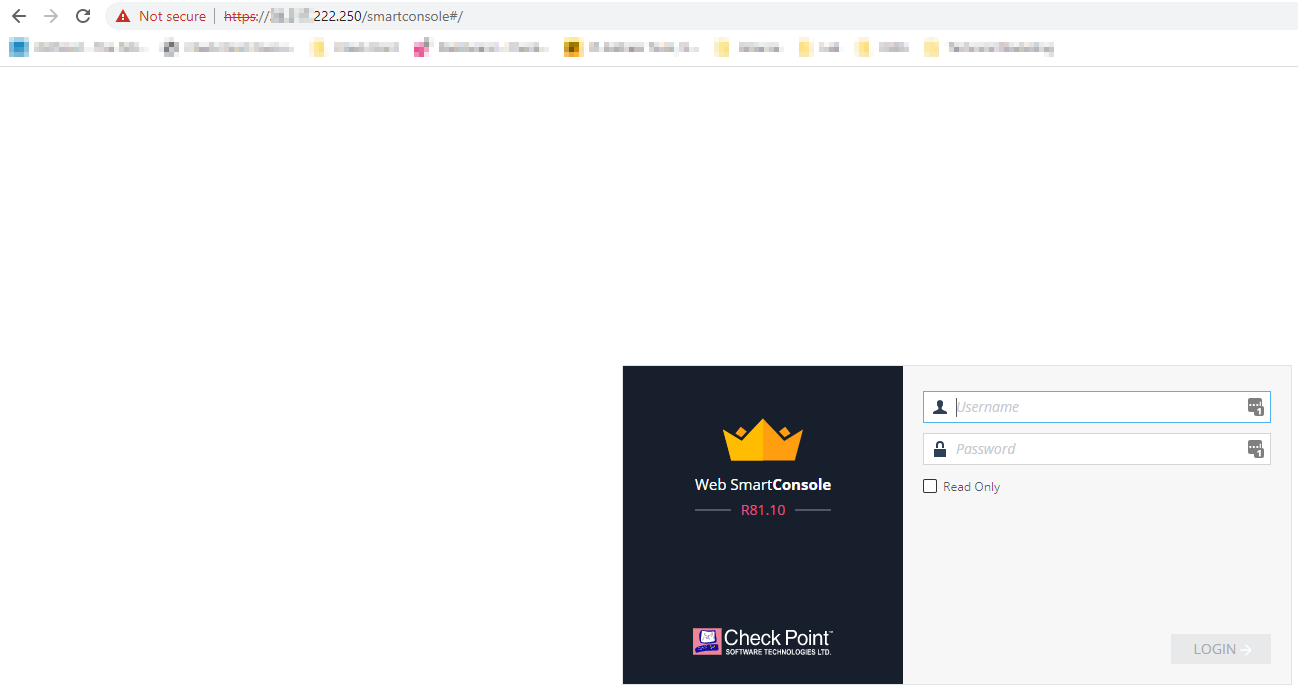
- Login to the Check Point SmartConsole application via one of two methods:
- URL provided in the previous step to access the Web SmartConsole: https://publicIP/smartconsole (make sure to open it in a new tab)
- R81.10 SmartConsole Windows application > Use Public IP from above…if you don’t already have it you can download it HERE
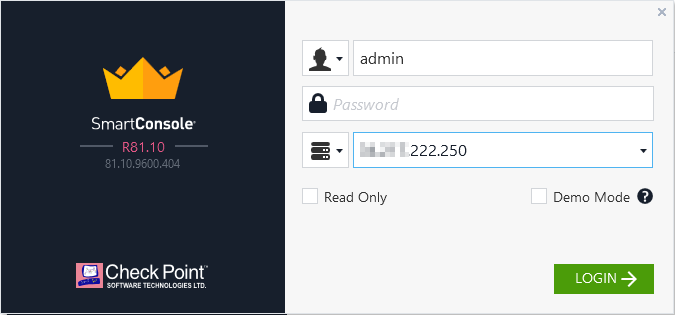
- URL provided in the previous step to access the Web SmartConsole: https://publicIP/smartconsole (make sure to open it in a new tab)
- Username is: admin Password is: qwe123!
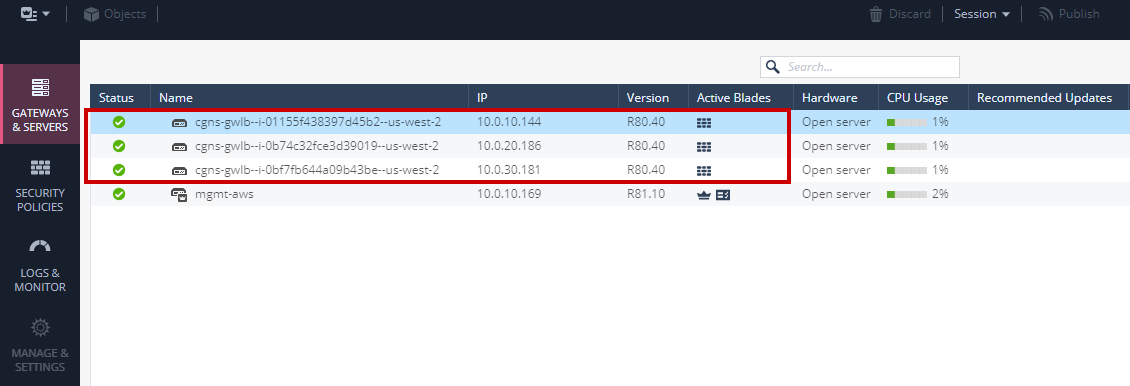
- Verify that the CloudGuard Network Security Gateways have been discovered by the Security Management Server (your IP addresses will likely be different)
Check Point Security Policy Setup
Now, we need to login to the Check Point Web SmartConsole to setup an initial security policy for the workshop, which will allow us to test all traffic flows.
SECURITY DISCLAIMER – this is a sample policy for this WORKSHOP ONLY and it NOT SUITABLE for a production environment!!!!
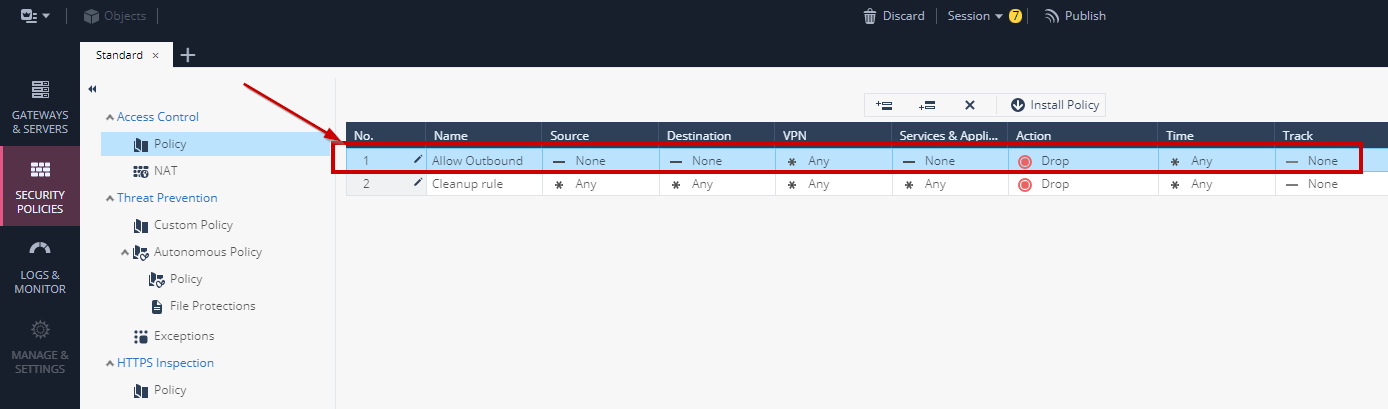
- Navigate to the Security Policies tab in SmartConsole
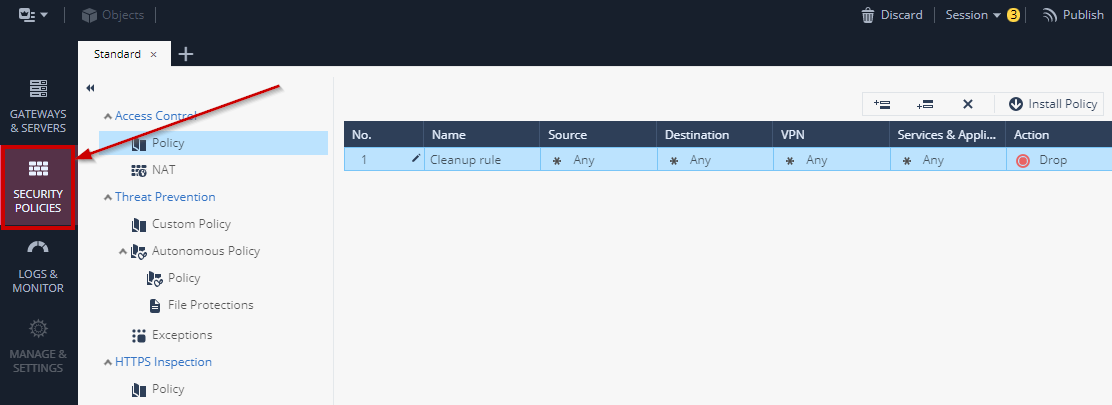
- Create a new rule above the default Cleanup rule
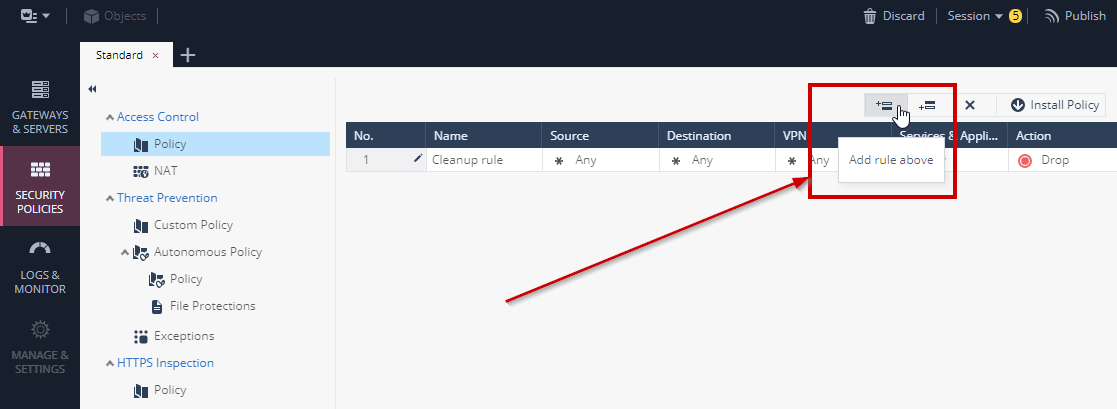
- The result should look like this…in this example we gave the rule the name Allow Outbound
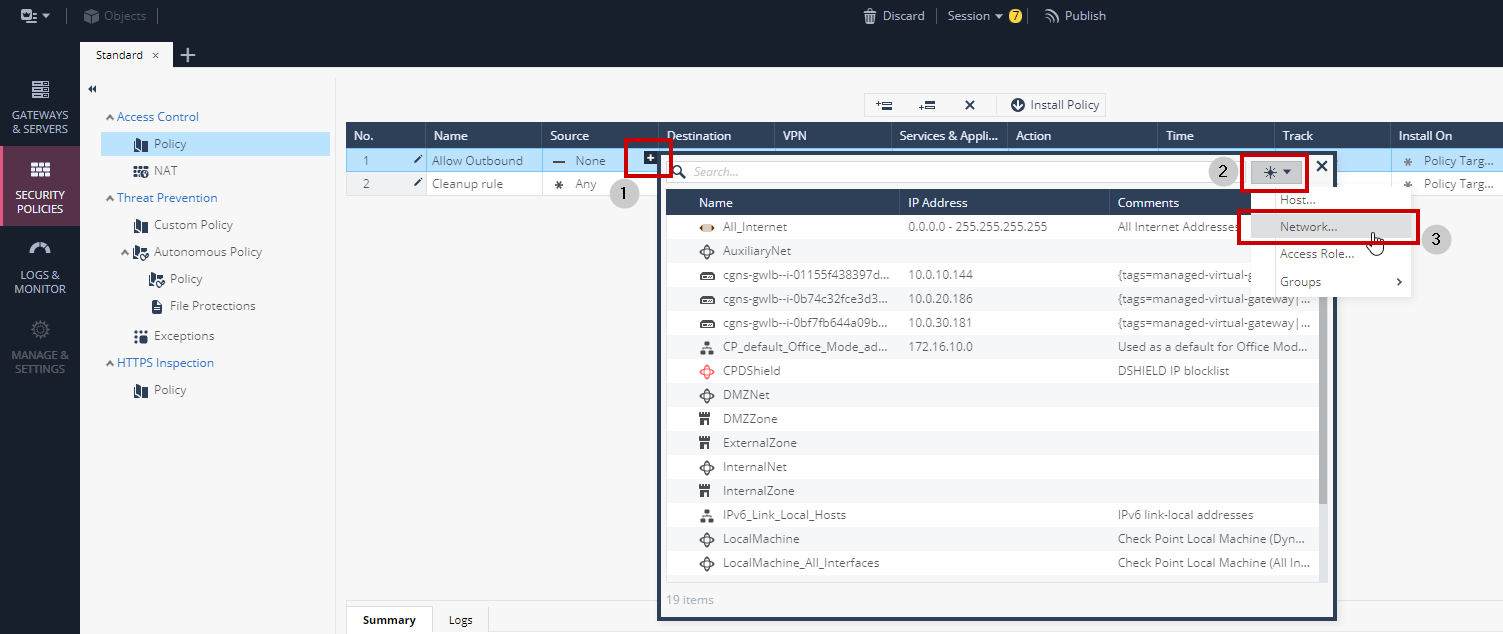
- Modify the new rule to allow the network 10.100.0.0/16 outbound access to ANY
- Give your rule a name if preferred(not required)
- Add a new network object that represents 10.100.0.0/16 to the Source field
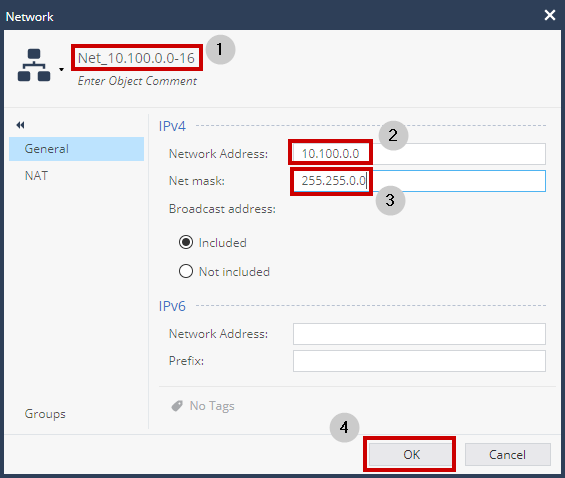
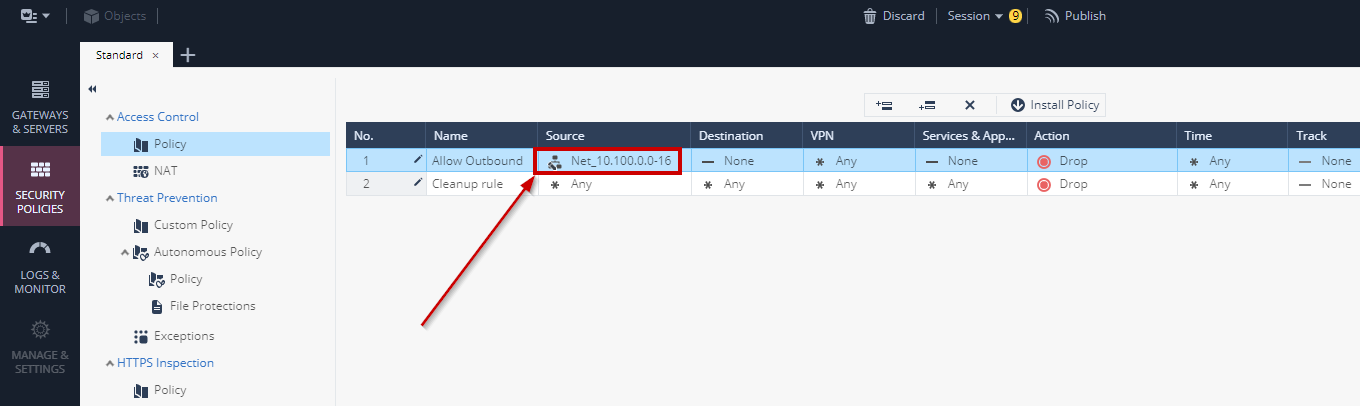
- Result should look like this:
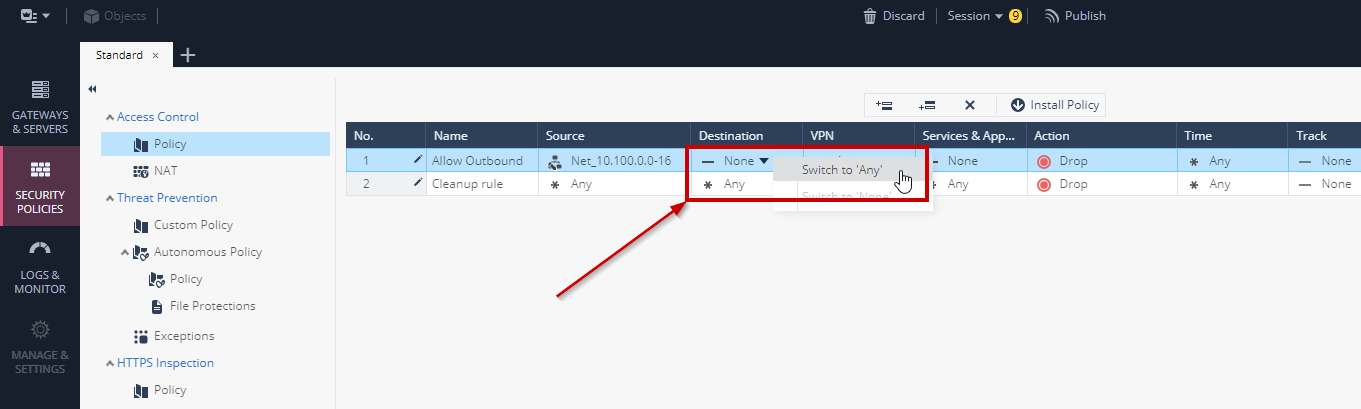
- Modify the rule so that Destination is ANY
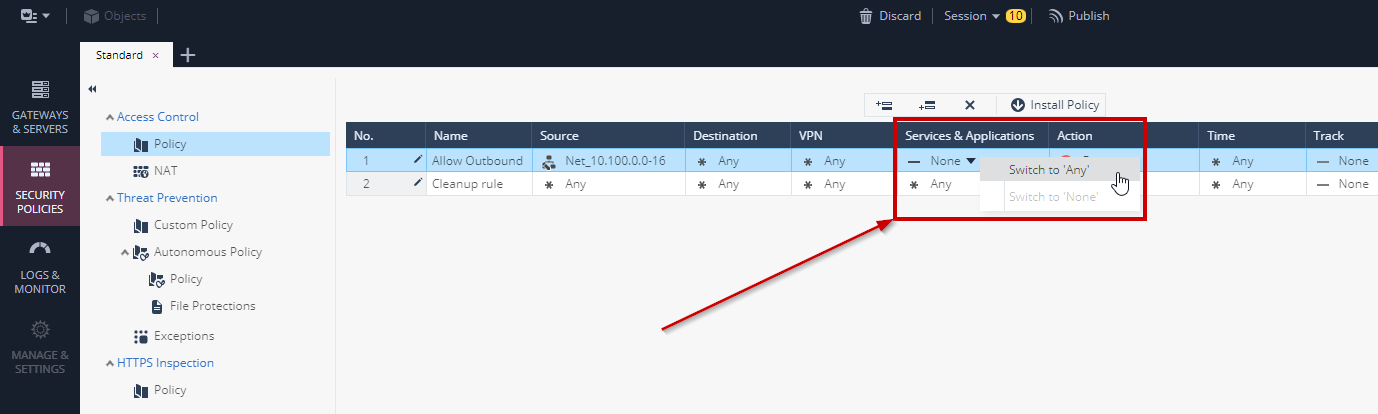
- Set the Service & Applications field to be ANY
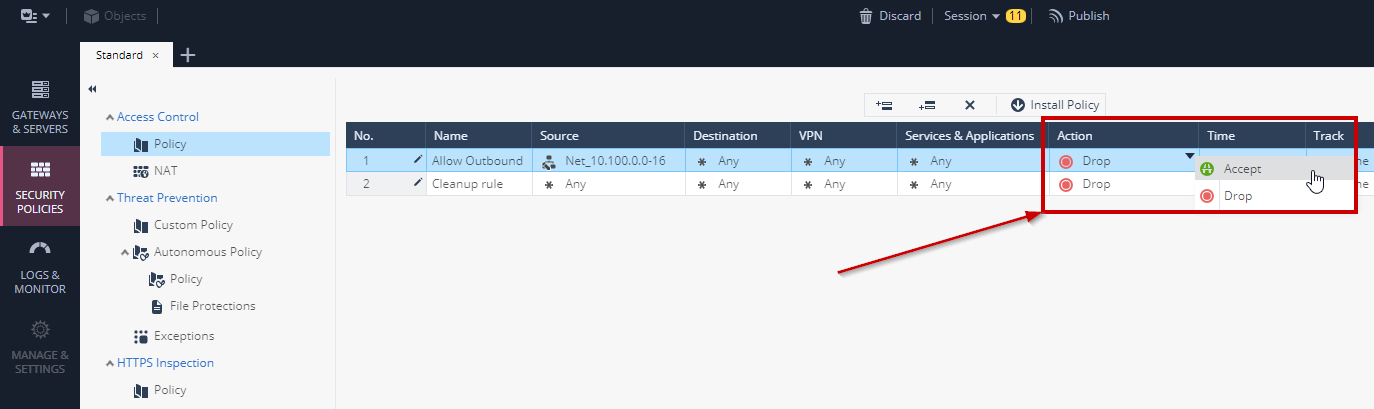
- Set Action to Accept
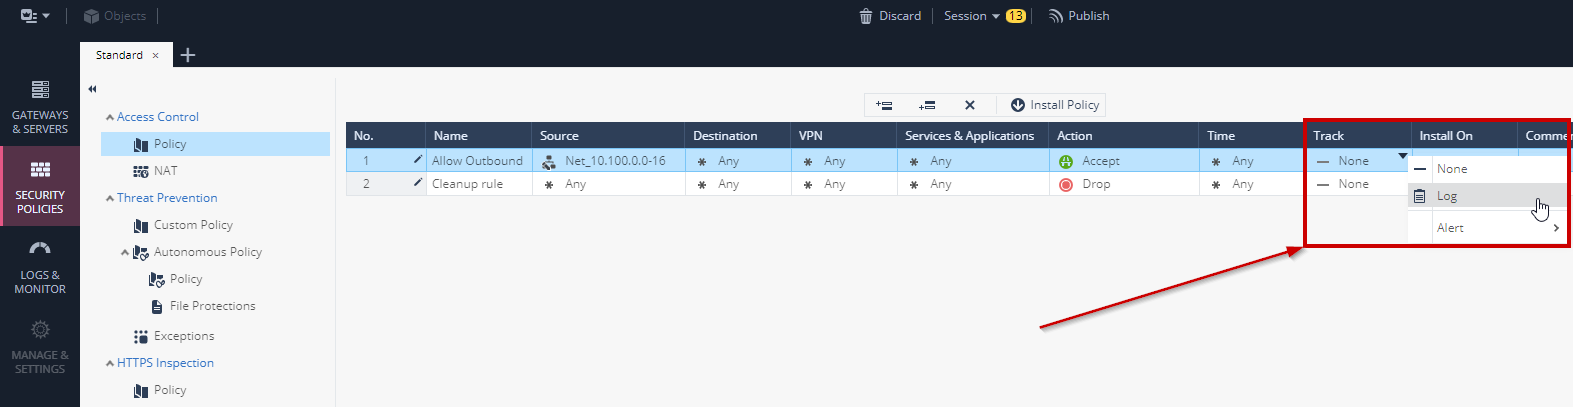
- Set Track to Log
- The end result of the new rule should look like this:

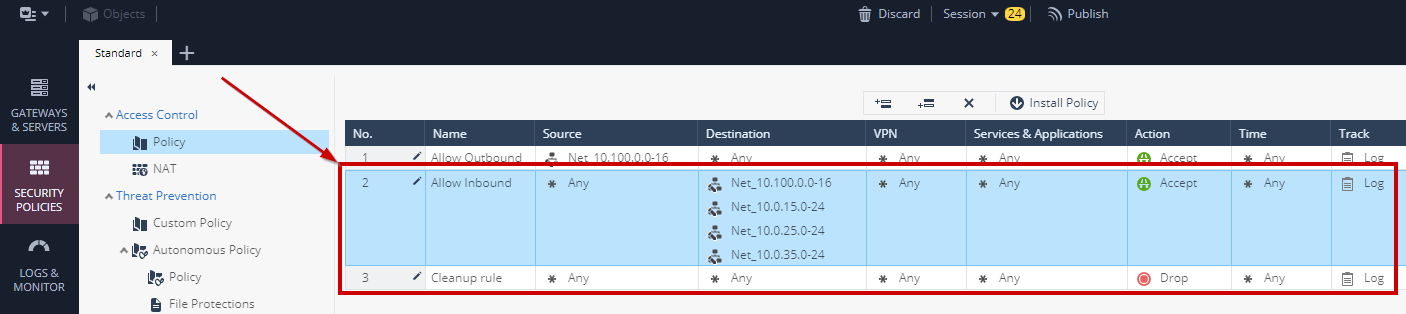
- Using the same procedure as above, create another rule that allows Inbound traffic to the following networks:
- 10.100.0.0/16
- 10.0.15.0/24
- 10.0.25.0/24
- 10.0.35.0/24
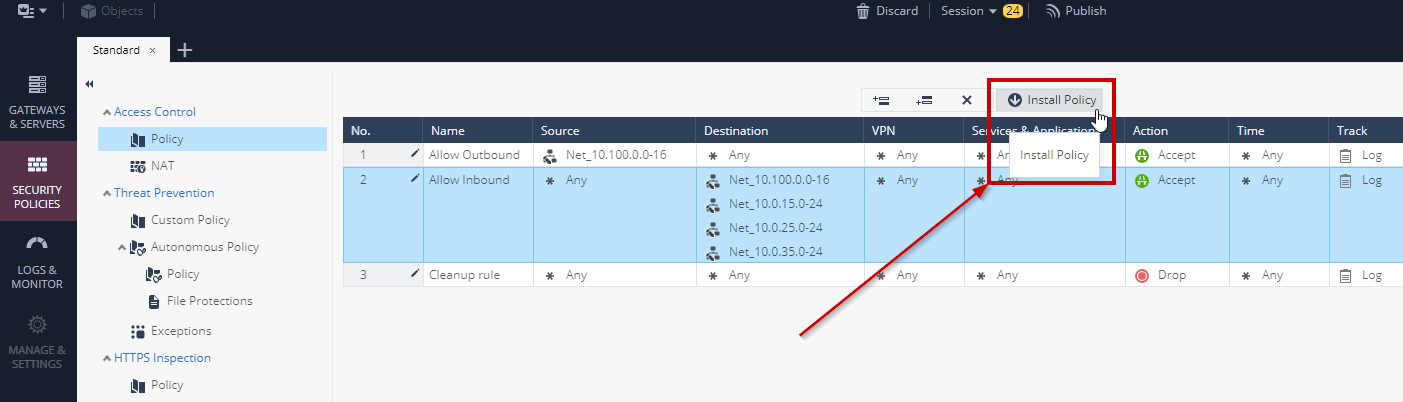
- When complete also set the Cleanup rule to Log. The end result should look like this:
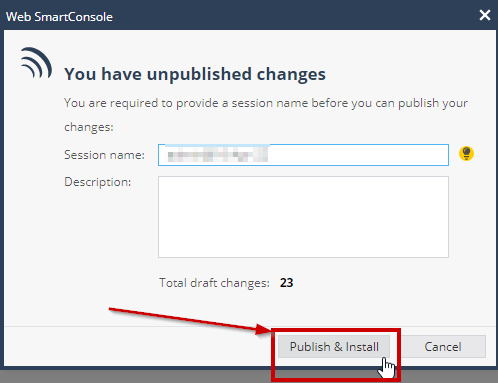
- Install Policy to push the new security policy to the Security Gateways